Getting Started with Trezor: Your Complete Guide to Secure Cryptocurrency Storage
Introduction
In an increasingly digital world, securing your cryptocurrency has never been more important. While exchanges provide convenience, they cannot guarantee full security. That’s where Trezor comes in—a hardware wallet designed to give you complete control over your digital assets. Whether you are a beginner just entering the crypto world or an experienced user seeking advanced security, Trezor provides a safe and user-friendly solution.
In this guide, we’ll walk you through everything you need to know to get started with Trezor, from setup and security best practices to managing your crypto efficiently. By the end, you’ll have a full understanding of how to use Trezor to protect your cryptocurrency and navigate the digital financial world with confidence.
1. What is Trezor and Why It Matters
Trezor is a hardware wallet, a physical device designed to securely store private keys offline. Unlike software wallets or exchanges, your private keys never leave the device, making it highly resistant to hacking, malware, or phishing attacks.
Key Benefits of Trezor:
Offline Security: Your private keys are never exposed online.
User-Friendly Interface: Easy-to-use with intuitive apps for managing your crypto.
Multi-Currency Support: Compatible with Bitcoin, Ethereum, and thousands of altcoins.
Backup & Recovery Options: Secure recovery seeds to regain access if your device is lost or damaged.
Hardware wallets like Trezor are considered the gold standard in crypto security, especially for long-term holders or those managing significant amounts of cryptocurrency.
2. Trezor Models Overview
Trezor offers two main models: Trezor One and Trezor Model T. Each model is designed to meet different user needs.
Trezor One
Classic, reliable hardware wallet.
Supports 1,000+ cryptocurrencies.
Compact and easy to use.
Great choice for beginners.
Trezor Model T
Advanced touchscreen interface.
Supports more cryptocurrencies and features.
Includes password manager functionality.
Designed for users who want enhanced security and functionality.
Both devices are designed to be intuitive, allowing users to manage their crypto securely without prior technical knowledge.
3. Unboxing and Setting Up Your Trezor
Getting started with Trezor is simple and secure. Follow these steps:
Step 1: Unbox Your Device
Ensure the packaging is intact to confirm it hasn’t been tampered with.
Inside, you’ll find your Trezor device, USB cable, recovery seed cards, and a manual.
Step 2: Connect to Your Computer
Visit trezor.io/start to download the official Trezor Suite or Web interface.
Connect your device using the provided USB cable.
Step 3: Initialize Your Device
Choose “Create New Wallet” for a fresh setup.
Set a secure PIN—this protects your device from unauthorized access.
Step 4: Backup Your Recovery Seed
Your recovery seed is a set of 12 or 24 words used to recover your funds if the device is lost.
Write them down carefully on the provided card—never store digitally.
Confirm the seed by entering it on the device.
Tip: Treat your recovery seed like gold—anyone with access to it can access your funds.
4. Security Best Practices
Security is the core of Trezor, but it also depends on you following best practices:
1. Never Share Your Recovery Seed
Trezor employees or any third party will never ask for it.
2. Keep Your Device Firmware Updated
Regular updates protect against new vulnerabilities.
3. Use a Strong PIN
Avoid simple combinations like 1234 or 0000.
4. Enable Passphrase Protection (Optional but Recommended)
Adds an additional layer of security.
Acts as a “25th word” for your recovery seed.
5. Store Recovery Seed Securely
Consider a fireproof safe or secure offline location.
Avoid storing seeds on cloud services or photos.
5. Adding and Managing Cryptocurrency
Once your Trezor is set up, you can begin adding cryptocurrency.
Supported Coins
Bitcoin (BTC)
Ethereum (ETH)
Ripple (XRP)
Litecoin (LTC)
Thousands of altcoins via Trezor Suite and compatible wallets
How to Add Crypto
Open Trezor Suite.
Connect your Trezor device.
Click “Receive” to generate a wallet address.
Transfer funds from an exchange or another wallet.
Managing Multiple Assets
Trezor Suite allows easy switching between different coins.
Portfolio overview shows balances, transaction history, and market value.
6. Sending Cryptocurrency Safely
Sending crypto with Trezor is secure because every transaction is signed offline on the device.
Steps to Send Crypto:
Open Trezor Suite and select “Send.”
Enter the recipient’s address carefully—verify before sending.
Confirm transaction details on the Trezor device.
Press “Confirm” to sign and broadcast the transaction.
Pro Tip: Always double-check addresses to avoid phishing or scams. Even one wrong character can result in permanent loss.
7. Using Advanced Features
Trezor offers additional tools for experienced users:
1. Passphrase Wallets
Create multiple wallets using the same recovery seed with different passphrases.
Useful for additional privacy or splitting funds securely.
2. Third-Party Integrations
Compatible with wallets like Electrum, MyEtherWallet, and DeFi platforms.
Allows advanced trading or smart contract interactions while keeping your keys secure.
3. Cryptocurrency Exchanges
Use Trezor to securely sign transactions on platforms without exposing private keys.
8. Trezor Mobile and Suite Apps
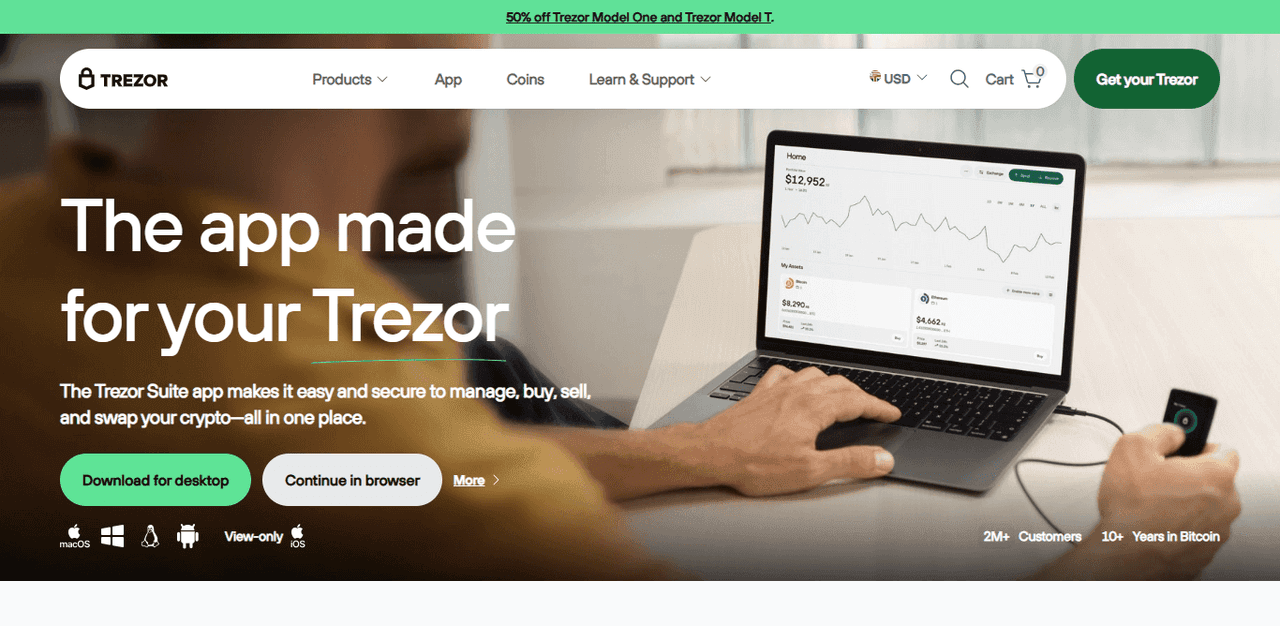
Trezor Suite is available for desktop and mobile, making it easy to manage crypto on the go.
Features:
Portfolio overview and transaction history
Coin swapping and exchange integration
Price tracking and alerts
Device management and firmware updates
The mobile app ensures you can always access your crypto securely while maintaining offline key storage.
9. Troubleshooting Common Issues
Even with a secure device, issues can arise:
Problem: Trezor Not Recognized
Check the USB cable and port.
Update your device firmware.
Restart the Trezor Suite app.
Problem: Forgot PIN
Use your recovery seed to reset the device and restore access.
Problem: Recovery Seed Lost
Unfortunately, without your recovery seed, there is no way to recover funds.
Always store it securely offline.
10. Why Trezor is the Right Choice
Trezor combines security, ease of use, and versatility, making it suitable for both beginners and advanced users. Key advantages include:
True ownership of your crypto
Offline signing for ultimate security
Support for a wide range of cryptocurrencies
User-friendly interface with mobile and desktop apps
By using Trezor, you protect yourself from exchange hacks, phishing attacks, and malware—essential for anyone serious about crypto security.
Conclusion
Getting started with Trezor is simple, secure, and empowering. By following this guide, you can confidently store, manage, and transact cryptocurrency while keeping your assets safe from threats.
Trezor is more than a wallet—it’s a tool for financial independence and digital security. Whether you’re holding Bitcoin, exploring DeFi, or managing multiple cryptocurrencies, Trezor ensures your keys remain in your hands.
Visit Trezor.io/start today to begin your journey to secure crypto ownership. Protect your assets, take control of your finances, and explore the digital future with confidence.